If you wish, you can download a PDF copy of this handout.
These class handouts are multi-page PDF files. Not all browsers handle PDF files the same way. If you see a scrollbar to the side of the PDF files, you can use that to change pages. If you do not see a scroll bar, try clicking once anywhere in the class handout and then using your computer's up and down arrow keys.
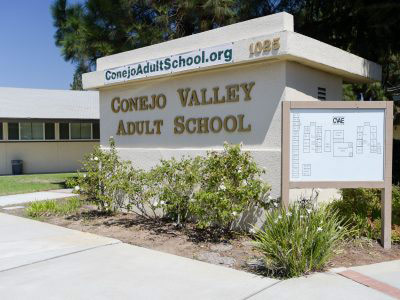
The school is a former public school campus in Thousand Oaks, CA. With nine classroom buildings, it offers a huge variety of adult classes, from vocational to ESL to community enrichment (such as Tom's photography classes) to technology (such as Tom's Photoshop Elements classes). Open to all students over 18 years of age. The school started in 1974, and is a part of Conejo Valley Unified School District (CVUSD).