Alternative Process Tutorials

Alternative Process Tutorial #14
Selenum Toning Negatives For Increased Contrast
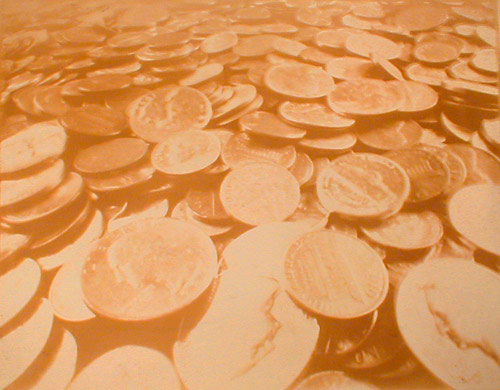
Illustration #125: Pinhole photograph,
Gum Print
Copyright © 1999 by Tom Ferguson
Click on image for larger view
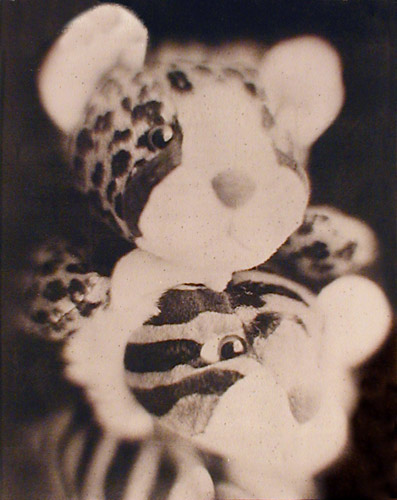
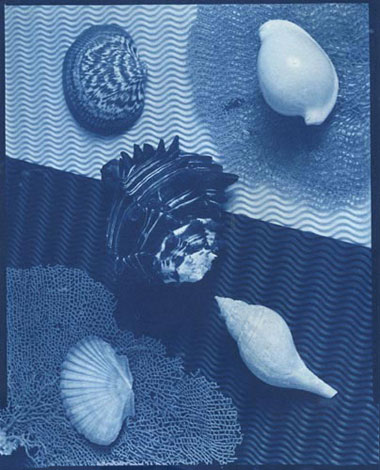
Illustration #126: Palladium
on painter's canvas
Copyright © 2000 by Tom Ferguson
Click on image for larger view
Selenium Post Development Treatment
It is possible to increase the density range of an existing (already processed) negative with Kodak Selenium Toner. If your print is "flat" (lacks "snap") then this selenium toning technique may help. This situation is typically indicated by your negative's density range being smaller than the process's optimal density range.
What this toning does is to coat the denser parts of the negative (which print as light gray/white) with selenium, making them even darker on the negative (and thus whiter on the print).
The selenium technique is also usable for artistic effect, allowing you to deliberately "blow out" your highlights. You can also "black out" your dark areas by first toning the negative, and then printing for a longer period of time.
These operations may be done in full light, even outdoors in sunlight. Do wear gloves, selenium at these concentrations is dangerous to your health. Provide good ventilation.
Mix 1/2 liter of working dilution Kodak Hypo Clearing Agent following Kodak's instructions (found at all complete photography stores). Add 1/2 liter of pure (not mixed with water) Kodak Selenium Toner. In an airtight bottle this mix will last many years, and can be used over and over again.
Pre-wet (wash) the negative for 3 minutes. Quickly (and evenly) insert one negative into the selenium toner & clearing agent. Agitate continuously. Leave negative in toner for between 30 seconds and 5 minutes, depending on the amount of density range boast needed.
While you can see the density range change as it happens, there is no good way to reverse it. It is best to build up contrast slowly when you are inexperienced with this technique. Only tone for 1:30 or so at a time. After toning, clear in a second bath containing only working dilution Kodak Hypo Clearing Agent, then wash as for 5 minutes. When the negative is dry, either re-measure it or re-print it. The process can be repeated, although 5 minutes seems to give the maximum effect.
 |
 |
|
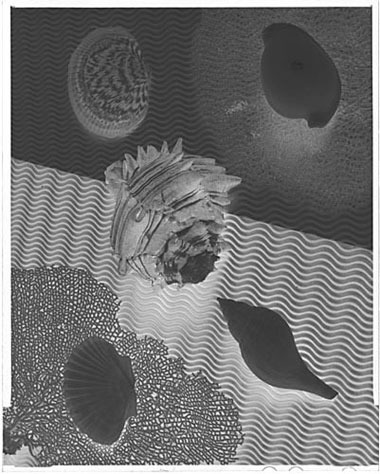
Illustration #127: Negative before treatment |
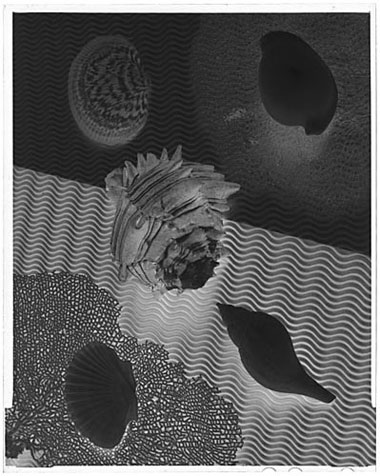
Illustration #128: Negative after treatment |
|
 |
 |
|
Illustration #129: Print of neg before treatment |
Illustration #130: Print of neg after treatment |
This is the last of my "Sequenced" tutorials. Do look at the "Other Tutorials" link at the top of this page to find assorted articles that are not part of this sequenced tutorial series.