Alternative Process Tutorials

Solarizing
Silver Gelatin Prints
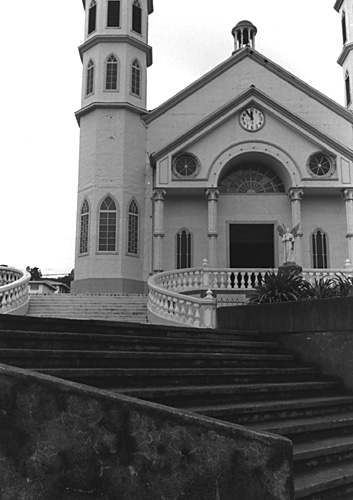
Illustration A: Normal print
Copyright © 1998 by Tom Ferguson
Click on image for larger view

Illustration B: Solarized print
Copyright © 1998 by Tom Ferguson
Click on image for larger view
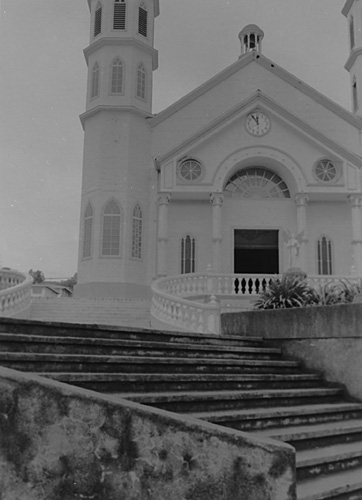
Illustration C: Solarized in conventional developer
Copyright © 1998 by Tom Ferguson
Click on image for larger view

Illustration D: Solarized in Solarol Developer
Copyright © 1998 by Tom Ferguson
Click on image for larger view
Solarizing (also known as Sabattier) is an effect created by exposing a partially developed print (or film) to a brief flash of light, then completing the development and processing. It causes the tones on the image to change, and in some cases reverse. This creates an intriguing and somewhat surreal image, that is both positive and negative at the same time. The simplest method is to buy the bulb to fit a hardware store work light reflector and hang this above your developer tray, controlled by a digital enlarger timer (see illustrations E and F).
Step One: Use either exhausted (well used) print developer or, far better yet, Solarol brand developer (See illustration C and D). Your remaining processing steps (stop, fix, hypo clear, toning) are done as normal for silver gelatin paper.
Step Two: Test strip and print your negative normally (see illustration A). You will not solarize this print, just keep it for reference.
Step Three: Make another print with two changes. Use one paper grade or contrast filter higher (greater contrast) and expose for less time. Typical for mid to heavy effect is 2/3 the time in step 2 (If your time in step 2 was 12 seconds, in step 3 use 8 seconds). For a minimal effect use 4/5 of your step 2 time (see illustration G).
Step Four: Develop as normal for 40 seconds. Do not remove the print from the developer yet!
Step Five: While the print is still in the developer, expose to the 2nd light (see illustration F). This second light should be approximately 15 watts and about 3 feet (1 meter) above the developer tray. Typical 2nd exposure time for a heavy effect is 1 second, mid effect is 0.5 seconds, and light effect is 0.2 seconds. These very short times are why I suggest a digital timer be used.
Step Six: Continue developing for another 1 minute and 20 seconds (2 minutes total in the developer between steps 4 and 6).
Step Seven: Stop, fix, clear, and wash as normal for silver gelatin paper.
Notes: You can change the amount and type of effect by changing the first exposure time (step three) the first development time (step four), and the second light time (step five).
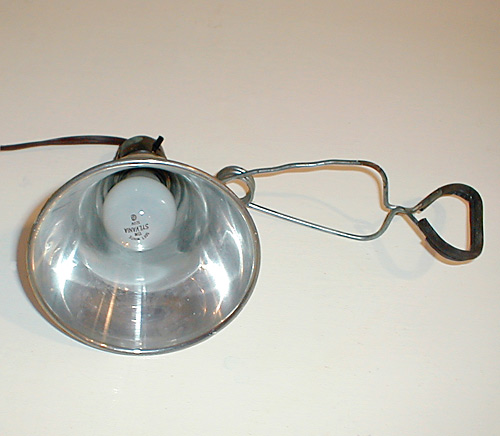
Illustration E: Bulb and reflector.
Copyright © 1998 by Tom Ferguson
Click on image for larger view
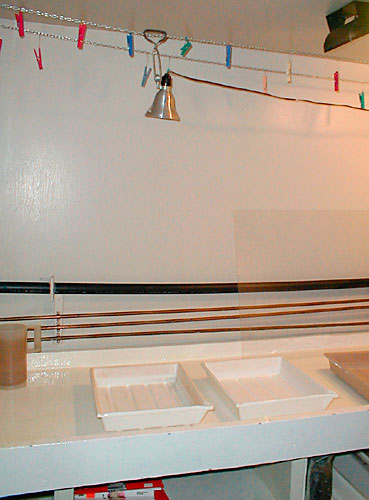
Illustration F: Light above developing tray.
Copyright © 1998 by Tom Ferguson
Click on image for larger view

Illustration G: Normal print, one contrast grade higher, and 1/3 less time: ready for Solarizing.
Copyright © 1998 by Tom Ferguson
Click on image for larger view

Illustration H: Print G given
0.2 seconds re-exposure.
Copyright © 1998 by Tom Ferguson
Click on image for larger view
Illustration I: Print G given
0.5 seconds re-exposure.
Copyright © 1998 by Tom Ferguson
Click on image for larger view
Illustration J: Print G given 1 second re-exposure.
Copyright © 1998 by Tom Ferguson
Click on image for larger view