Alternative Process Tutorials

Alternative Process Tutorial #2
Chemicals, Safety, and Light Sources
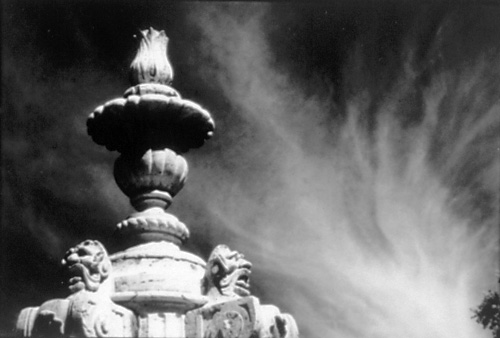
Illustration #13: Infrared image printed in silver
Copyright © 1992 by Tom Ferguson
Click on image for larger view
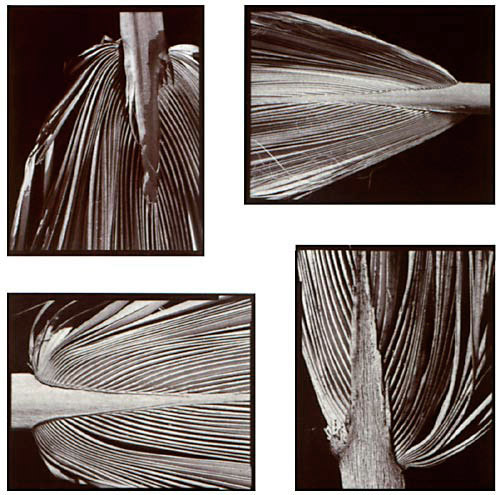
Illustration #14: Platinum Photographs
Copyright © 1993 by Tom Ferguson
Click on image for larger view
Chemicals & Safety: I am neither a trained chemist nor medical doctor. What follows is simply the advice of a working photographer.
Most alternative processes require mixing chemicals and coating paper, in addition to the usual darkroom procedures of developing and processing. The use of these chemicals have very real risks. However; gloves, ventilation, and common sense will provide 95% of what you need to work safely. Lets look at these three issues separately.
Gloves: Because your skin is the largest "organ" in your body, you should always wear a pair of gloves when working with alt process chemicals. While dish washing gloves are fine to experiment with, "chemical worker's gloves" are made in a variety of sizes (more comfortable), are thicker (safer), and last longer (cheaper). "Chemical worker gloves" are available through most chemical suppliers. Because you will be putting on and taking off these gloves often (it's hard to handle negatives with gloves on) use two towels in your darkroom, one to dry off the gloves, and another to clean your hands.
Ventilation: Next to skin, your lungs are the most exposed organ. Any darkroom, alternative process or not, must have good ventilation to be safe. You need a passive vent allowing fresh air in, and an active vent forcing fumes out. A good situation is to have the active vent (fan) located just above the darkroom sink, where it can expel the fumes before they rise into the general atmosphere. This fan should expel the air outside the house, not into your living room. If possible, the passive vent should be across the room from the active vent. Light a cigarette and place it in the darkroom sink. With the active vent on, watch to see if the smoke leaves the room.
Common sense: If it spills, clean it up immediately (if you allow it to dry, it may become airborne dust). If it splashes on you, clean it up immediately with plenty of soap and water (it may burn you, or pass through your skin and into your bloodstream). Do not eat or smoke in the darkroom. Wash your hands very well, twice, at the end of every darkroom session. Lock up all photo chemicals, alternative process or not, if children are in your home. If it burns you or makes you sick, see a doctor.
If the above covers 95% of the knowledge you need, what is the other 5%? That varies with your methods and processes. You'll have to learn as you go. Talk to your suppliers, let them know your level of expertise. Some chemicals have special handling requirements. As an example, if you use oxidizers, be cautious grinding them. Friction could ignite them. Material Safety Data Sheets (MSDS) are often available through the chemical suppliers. Ask for them if you are unsure of yourself.
Do keep your concerns and cautions in perspective. It has always been my belief that most alt photo chemicals are less dangerous and less polluting than "Draino", swimming pool chemicals, gasoline, paint thinner, or "Raid" insect spray! Use common sense and caution, but do have fun.
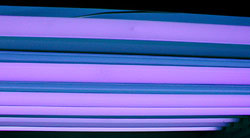
Illustration #15: UV lamps
Copyright © 2001 by Tom Ferguson
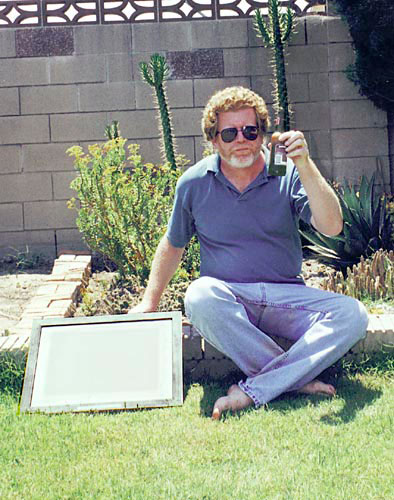
Illustration #16: Printing with sunlight
Copyright © 2001 by Tom Ferguson
Click on image for larger view
Light Sources & Safety: Most alternative processes are highly sensitive to blue and ultra violet light, and insensitive to the yellow or red light. Exposure to large amounts of UV light can cause headaches, eye strain, and possible eye damage. Two common sources of blue and ultra violet light are the sun and UV fluorescent tubes. Unfortunately the sun varies in intensity due to time of day, season, and clouds. If you continue with alternative process work, you may want to build a bank of UV fluorescent tubes (see illustration #15). Instructions on building such a unit is provided later in this series (click here to view). If you intend to use UV fluorescents, make sure you are shielded from most of the light. I simply have a piece of black cloth that I fold over the opening in my unit.
To simply try a process there is nothing easier than the sun (see illustration #16). You'll need a clear day, preferably between 10 AM and 2 PM. Exposure times with these processes are long, from a few minutes to half an hour. Simply load your contact frame, cover with a card, then place it directly facing the sun and remove the card to start the exposure.
A "darkroom" for alternative processes need not be dark! I coat, load, and process my work with the hall light on just outside my "darkroom". Tungsten light is fine, sunshine and fluorescent should be avoided. Meter a piece of white paper, your room is probably safe if you get an exposure of F5.6 at 1/4 second or longer (at ASA 100). I have tested this light level with many processes, and have not seen fogging with alternative process papers in less than one hours time. When you start hand coating paper, you'll want a dark room to let it dry in (I simply close the door, blocking my hallway light). A full "safe light" testing procedure is explained later in this series (click here to view).
Now that we've dealt with safety issues, click the "next" below for information on how to measure and mix chemicals. We'll even make our first alt chemical, a two part cyanotype solution.