Alternative Process Tutorials

Alternative Process Tutorial #10
Minimum Black Time
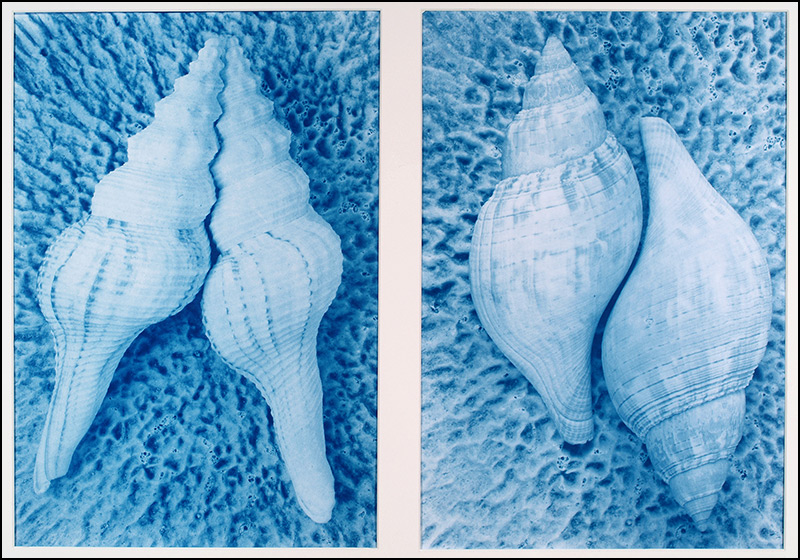
IIllustration #87: Cyanotype Diptych
Copyright © 1998 by Tom Ferguson
Click on image to see lager view
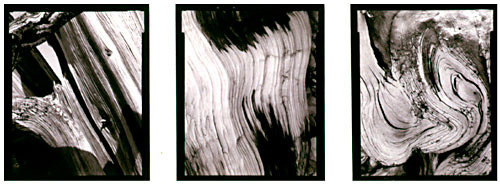
Illustration #88: Platinum Photographs
Copyright © 1993 by Tom Ferguson
Click on image to see lager view
Next you will determine the "proper" printing exposure time for your process. These instruction are for cyanotype, but you can substitute most other processes.
Take your zone 2 negative (from tutorial 8, the one with your initials on it) and place it in a contact frame with a sheet of cyanotype paper. Place a piece of black mat board over the top of your contact frame and place this in direct sunlight (or a UV tube light bank). As before, this is best done between 10AM and 3pm on a clear day. Using a watch or timer, remove the mat board and expose for 3 minutes. At the end of this 3 minutes, cover 1/5 of the negative with the black mat board and continue to expose for another 1 and 1/2 minutes. You now have a stripe 1/5 of the negative exposed for 3 minutes, and 4/5 of the negative exposed for 4 and 1/2 minutes (the first 3 minutes plus the second 1 and 1/2 minute). Next, move the black mat board so that 2/5 of the negative is covered and continue the exposure for another 1 and 1/2 minutes. Next, move the black mat board so that 2/5 of the negative is covered and continue the exposure for another 1 and 1/2 minutes. Finally, move the black mat board so that 4/5 of the negative is covered and continue the exposure for the final 3 minutes. You now have expose test strips of 3, 4:30, 6, 9, and 12 minutes. A typical exposure, in Southern California, is 6 minutes. This varies significantly due to the exposure your negative received, the location you are printing at, and the time of year, and your choice of papers.
"Development" is by water only. Wash the print in gently moving water (68 to 75 degrees F) for 12 minutes. Wear your gloves, as there are chemicals in the wash water. If all of the strips on your test are too light, double the time's I've given and try again. If all of the strips on your test are too dark, half the time's I've given and try again.
When the paper is completely dry look for the darkest strip with just a hint of detail between the center tone and the darker tone of your mat board target. You should have to look closely, in normal room light, to see it. Write the time of this exposure down. This is your "Minimum Black Time (MBT) for this process using the sun as your light source. Do not go to extremes in determining this time. "Read" the test in normal room light only, do read the test with backlighting or direct sunlight.
Look at illustration #89, you can see the 5 exposure times as horizontal bands. The top, lightest, band was exposed for 3 minutes. The bottom, darkest, band was exposed for 12 minutes. the vertical bands are the three tones of the mat board test target. Note that on the 4th darkest exposure you still see the difference between the center mat board tone and the darker (right hand) mat board tone. On the 5th, darkest, exposure you can not see this difference clearly. In this test the 4th exposure (9 minutes) is the correct one.
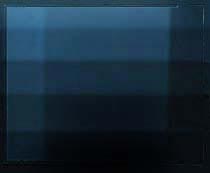
Illustration #89: MBT test strip
Note: Due to monitor variations and calibration,
use the descriptions in this article over this image
Next print and process each of your 7 development time test negatives from tutorial 9 for your personal MBT. It is faster to coat a larger sheet and print multiple negs at the same time. When the prints are completely dry look for the lightest strip with just a hint of detail between the center tone and the lighter tone of your mat board target. You should have to look closely, in normal room light, to see it (see illustration #90) Write the development time (or lab instructions) of this negative down. This is your "personal film development" for this process using the sun as your light source. Do not go to extremes in determining this time. "Read" the test in normal room light only, do read the test with backlighting or direct sunlight.
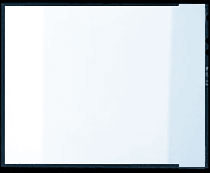
Illustration #90: printed zone 8 test
Note: Due to monitor variations and calibration,
use the descriptions in this article over this image
Finally, using your spot meter or index card from tutorial 7, determine a match between the chosen negative (center tone) and your step wedge. Write this step value down. It is your "target zone 8" for this process and light source. It will be used in further tutorials.
Click the "next" link below and I'll explain how to build and use a UV light source.