Alternative Process Tutorials

Alternative Process Tutorial #9
Personal Development Time
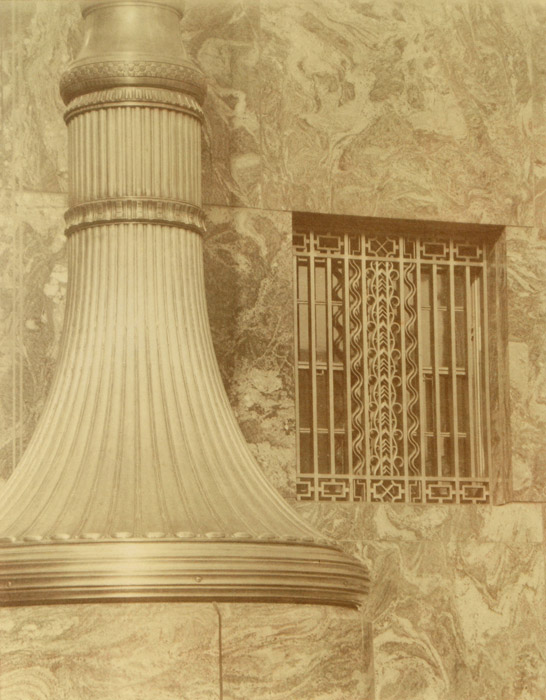
Illustration #83: Gum Photograph
Copyright © 1995 by Tom Ferguson
Click on image for larger view
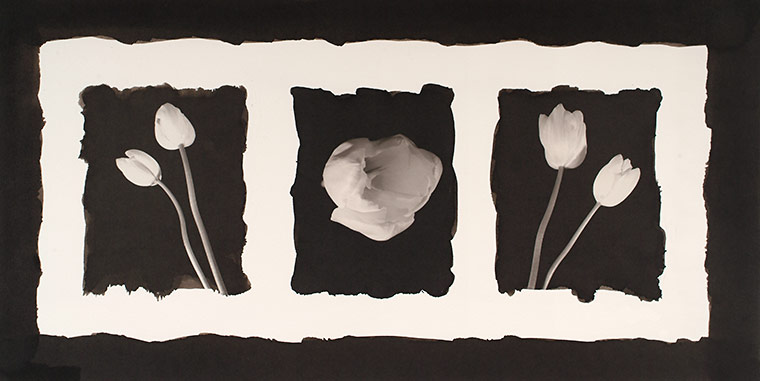
Illustration #84: Platinum Photographs
Copyright © 1991 by Tom Ferguson
Click on image for larger view
In tutorial 8 we determined your ideal personal film exposure index (EI). This sets your shadow values when an exposure is made. In order to set appropriate highlight values for your chosen process, you need to determine a personal film development time. The longer a negative is developed, the more opaque (darker) the highlight areas of the negative become. This allows us to alter the contrast, or density range, of a negative during development. Contrast control can also be achieved by altering the concentration of the film developer (stronger concentrations make more contrasty negs) or the temperature of the film developer. In this tutorial we will only alter time, in more advanced subjects (tutorial #18, expansion and contraction) we will also work with concentrations.
The goal of this tutorial is to expose 7 sheets of film at your EI and develop them for 7 different lengths of time. This will give us 7 negatives that only vary in contrast range. These negs will be used to determine a personal development time for your chosen process.
Put the mat boardtest target from tutorial 9 (see illustration #85) in the light you most often Shoot in (tungsten, sunlight, flash). Set up your camera as you did in tutorial 9 (focused on infinity, target filling frame, disregard out of focus image). Use the same type of film as you did in tutorial 9. Meter the four corners of the center tone on your mat board and make sure they are equal (move your lighting if needed). Set your EI rating from tutorial 9 (not the film manufacturer's rating) into your meter and read the center tone. If you were to use your meter's direct reading, you would be exposing at zone 5 (middle gray). Because we want these negatives at zone 8 (white with a touch of detail), you need to open up the meter reading by 3 stops. As an example, if the meter reading is 1/125 second at F/16, expose at 1/15 second at F/16. Expose all 7 sheets of film at your zone 8 exposure. When doing any film tests it is important to keep your shutter speed at 1/2 second or faster. This will keep reciprocity failure from confusing your results.
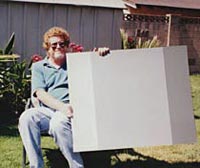
Illustration #85
Mat board test target
Lastly we will develop these 7 sheets for 7 different times, which will give us 7 different density ranged negatives. Using
the same developer you chose in tutorial 9, determine the following times: Manufacturer's suggested time (MST) minus 25%, MST without
any change, MST +25%, MST +50%, MST +75%, MST +100%, MST +125%. Write these values down, you are going to develop one sheet of
film for each of these 7 times. As an example, Kodak suggests 6 minutes for T-Max 400 in HC-110. So, with this combination
your times would be:
4:30 (6:00 x 0.75)
6:00 (the manufacturer's suggested time)
7:30 (6:00 x 1.25)
9:00 (6:00 x 1.5)
10:30 (6:00 x 1.75)
12:00 (6:00 x 2)
13:30 (6:00 x 2.25)
Note that you can round off all times to the nearest 1/4 minute. That is more than enough accuracy for our test. Unless you are using both T-Max 400 film and HC-110 developer, your test times will be different.
If you are using a pro lab to develop film, instruct your lab to develop one sheet each for:
Pull 1/2 stop
Normal
Push 1/2 stop
Push 1 stop
Push 1-1/2 stop
Push 2 stop
Push 2-1/2 stop
Note that some labs do not push beyond 2 stops. Simply skip this one sheet if the full 2-1/2 stop push isn't available.
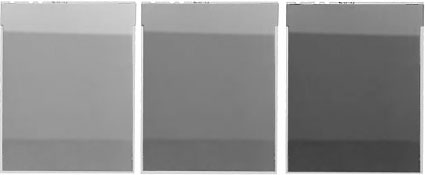
Illustration #86
Three of seven negatives after receiving different development times
Neg on left received shorter time, neg on right received longer time
One the negs are dry (or back from the lab), arrange then from thinnest to densest (see illustration #86). The thinnest neg received the shortest time (or the "pull 1/2 stop" lab instruction). The densest neg received the longest development (or the "push 2-1/2 stop" lab instruction). Write directly on each negative indicating it's development time (or lab instructions). These aren't "important negs", just write with a sharpie in a corner of the neg. Save the test negs for further use.
Click the "next" link below and we will use our density range test and EI test negs to determine your personal minimum black time.